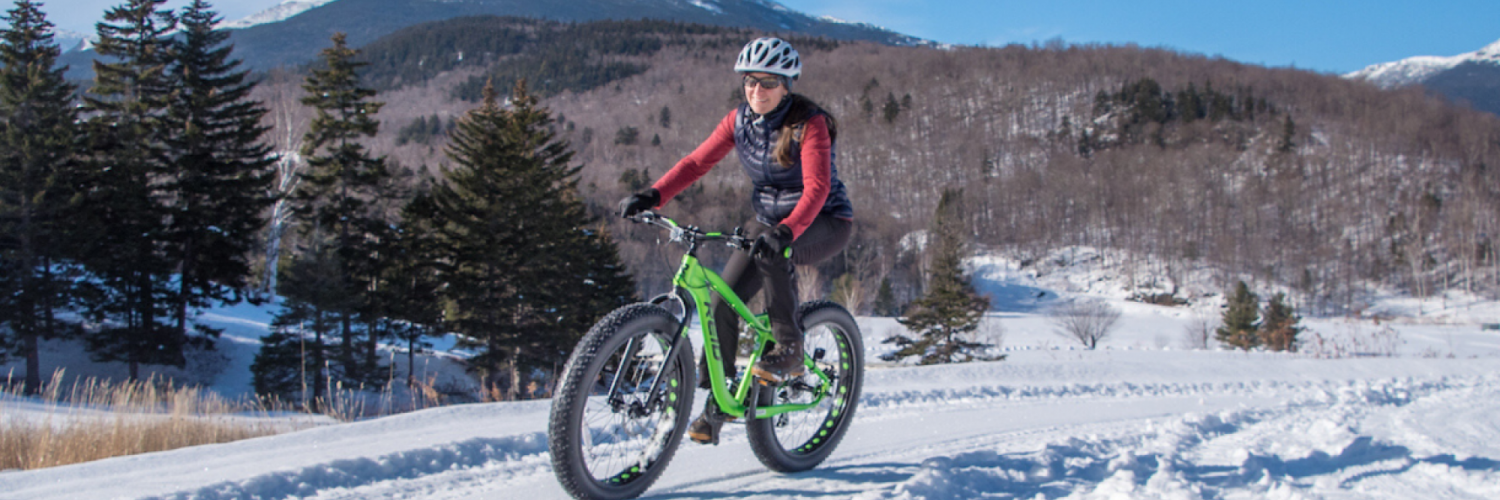
So, you want to try fatbiking... 5 tips to get you pedaling!
I'm Shannan, a fairly new (past few years) fatbiking enthusiast. I work in a Nordic resort that offers fatbiking to our guests, so I have seen it all—and most likely, done it all. So, I will walk you through it; what it is, how much fun you can have, and the top five things you need to know before you go.
Let's start with a quick history. In the late 1980s, an Alaskan fellow by the name of Steve Baker decided he needed something that could better traverse over snow. Traditional mountain bikes definitely weren't it, so, being the innovative type, he welded two mountain bike rims together and voila, the first "fatbike" was born.
Fast forward through the 1990s and early 2000s when lots of innovation, ideas, and new purposes for the ever-changing fatbike were evolving—including riding it on surfaces other than snow, such as on beaches, or in the woods where traditional mountain bikes are the norm.
In 2005, Surly produced its now-iconic Pugsley. Although not immediately clear of its purpose upon release, people seemed to know it was for riding on the snow—even people who didn't live in Alaska. Nevertheless, a major change in the sport of cycling had just occurred.
Over the years, fatbikes have become more mainstream with numerous manufacturers joining the game, and today fatbiking is one of the most popular and fastest-growing family activities out there. Resorts everywhere are renting them, and avid cyclists are buying them, with fatbike shops popping up in every small ski town in America.
So, if you're new to the sport, the first thing you'll probably notice when hopping onto a fatbike for the first time is the resistance. The tires are . . . well . . . fat! Thus, it requires a little more effort than jumping on your comfort bike and strolling down the avenue.
Over the years, evolutions in design have allowed fatbikes to be built on lighter frames with lighter rims. However, the tires on most fatbikes are 44mm wide—roughly 4 inches—so there's a lot more contact with the surface of the snow, and thus a lot more resistance.
That all being said, here are some tips to get you pedaling:
Tip #1:
Reduce the air pressure in the tires. They don't need to be rock-hard like a road bike or mountain bike. Generally, a pressure around four or five psi will make you feel like you're floating over the snow. If you're trail riding in the warmer months, pressures of eight to ten psi will work better.
Tip # 2:
Like with any other sport, when you are just starting out, start easy. Do some research on the trails you intend to ride. Are they easy, intermediate, or advanced? Are they groomed, or packed singletrack? And what exactly does THAT mean? If you are riding at a ski area with groomed trails, versus hitting the woods on snowshoe-packed trails, trust me, it matters. Know before you go!
Tip #3:
If you are just starting out, expect to be putting your feet down once in awhile. Or maybe a lot! Fatbiking is a totally different sensation and balance than riding a mountain bike. The texture and consistency of the snow will greatly affect the balance of the bike. So, don't use a clip-in pedal, at least not at first. Use a flat pedal that you can easily remove your feet from. If you are renting, make sure the bike you are getting has FLAT PEDALS.
Tip #4:
This is really more common sense, but as with any other outdoor activity, dress for the weather and do it in layers. Fatbiking is a workout, and you will definitely break a sweat. By dressing in layers, you can shed extra clothing as your body temperature rises. Better to have and not need, I say than to need and not have.
Tip # 5:
This was the hardest thing for me personally to get used to but stay in your seat. When riding a traditional mountain bike, I tend to stand up a lot, especially when climbing hills or when I'm trying to get that little extra oomph. However, do not do this on a fat bike or you'll likely face plant—and yes, I know this from experience. Instead, stay seated! Not only does standing up transfer weight completely off the back wheel—causing it to lose traction and spin—but it also transfers weight to the front wheel, and in soft snow . . . well . . . you get it. Weighting the front of the bike causes the tire to dig down into the snow, and then it's over the handlebars you go. Trust me, I know for a fact how not fun this is. So, when going uphill, gear down, sit down and enjoy the ride.
I hope that gives you the confidence you need to get out there and try fatbiking. It's a super-fun, low-impact way to get moving and enjoy all the outdoors has to offer.
For more information on fatbiking visit Great Glen Trails Outdoor Center online at www.greatglentrails.com/fatbiking, or follow Great Glen Trails on Facebook and Instagram. Photo credit: DanHoude
About the Author: Shannan Budde is the Social Media Director for the Mount Washington Auto Road and Great Glen Trails. She is an avid downhill skier and outdoors enthusiast. Shannan now resides in Eaton, NH with her husband Lauren and her dog, Canaan.


